ADVERTISEMENT
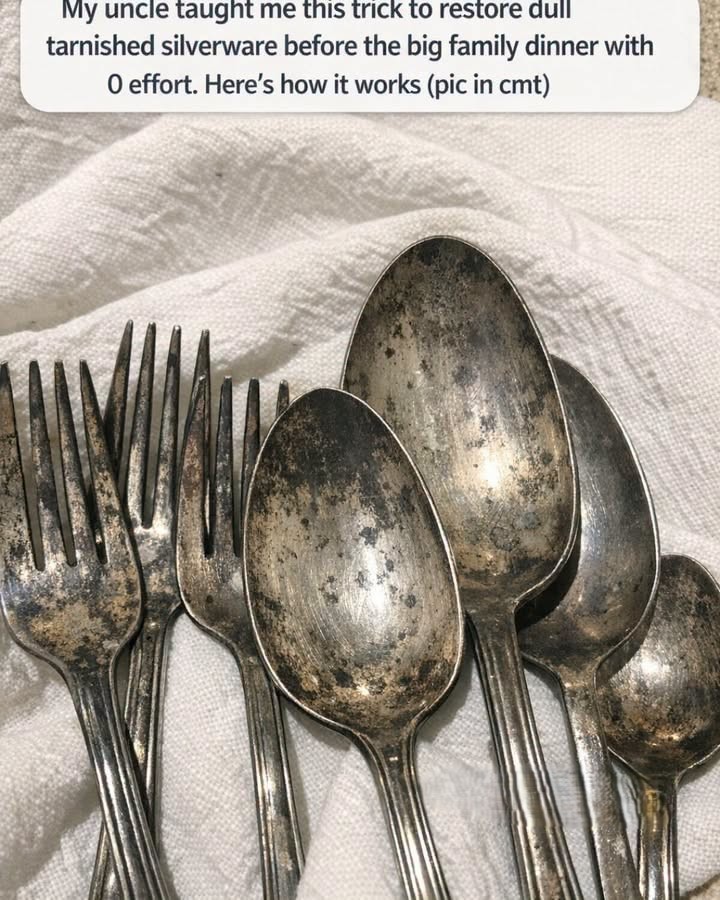
My uncle taught me this trick to restore dull tarnished silverware before the big family dinner with 0 effort. Here’s how it works
4. The step-by-step setup my uncle showed me
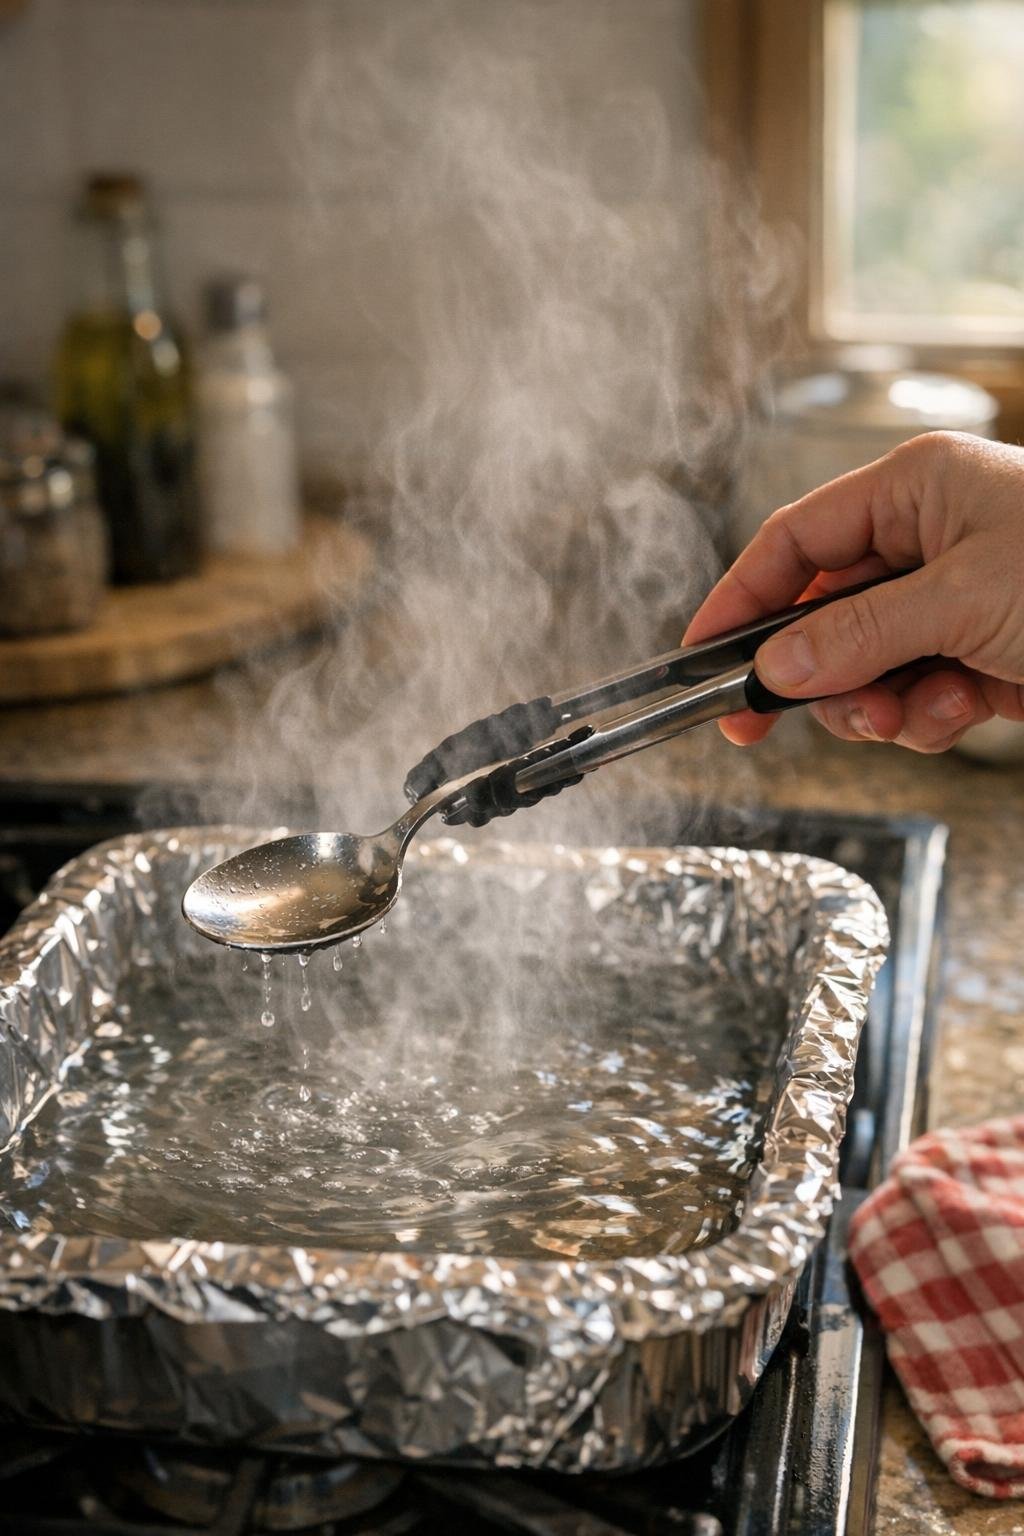
First, line the bottom of your dish, pan, or sink basin with aluminum foil, shiny side up if you want to be particular, though in practice I’ve had success either way. Set the silverware on the foil so each piece touches the foil if possible. That contact helps the reaction happen more efficiently.
Sprinkle 1 tablespoon baking soda and 1 tablespoon salt evenly over the pieces. Then pour in 6 to 8 cups of very hot water, enough to fully cover the silverware. If I’m working in the sink with a bigger batch, I scale up to 1/4 cup baking soda and 1/4 cup salt for every 1 to 1 1/2 gallons of hot water.
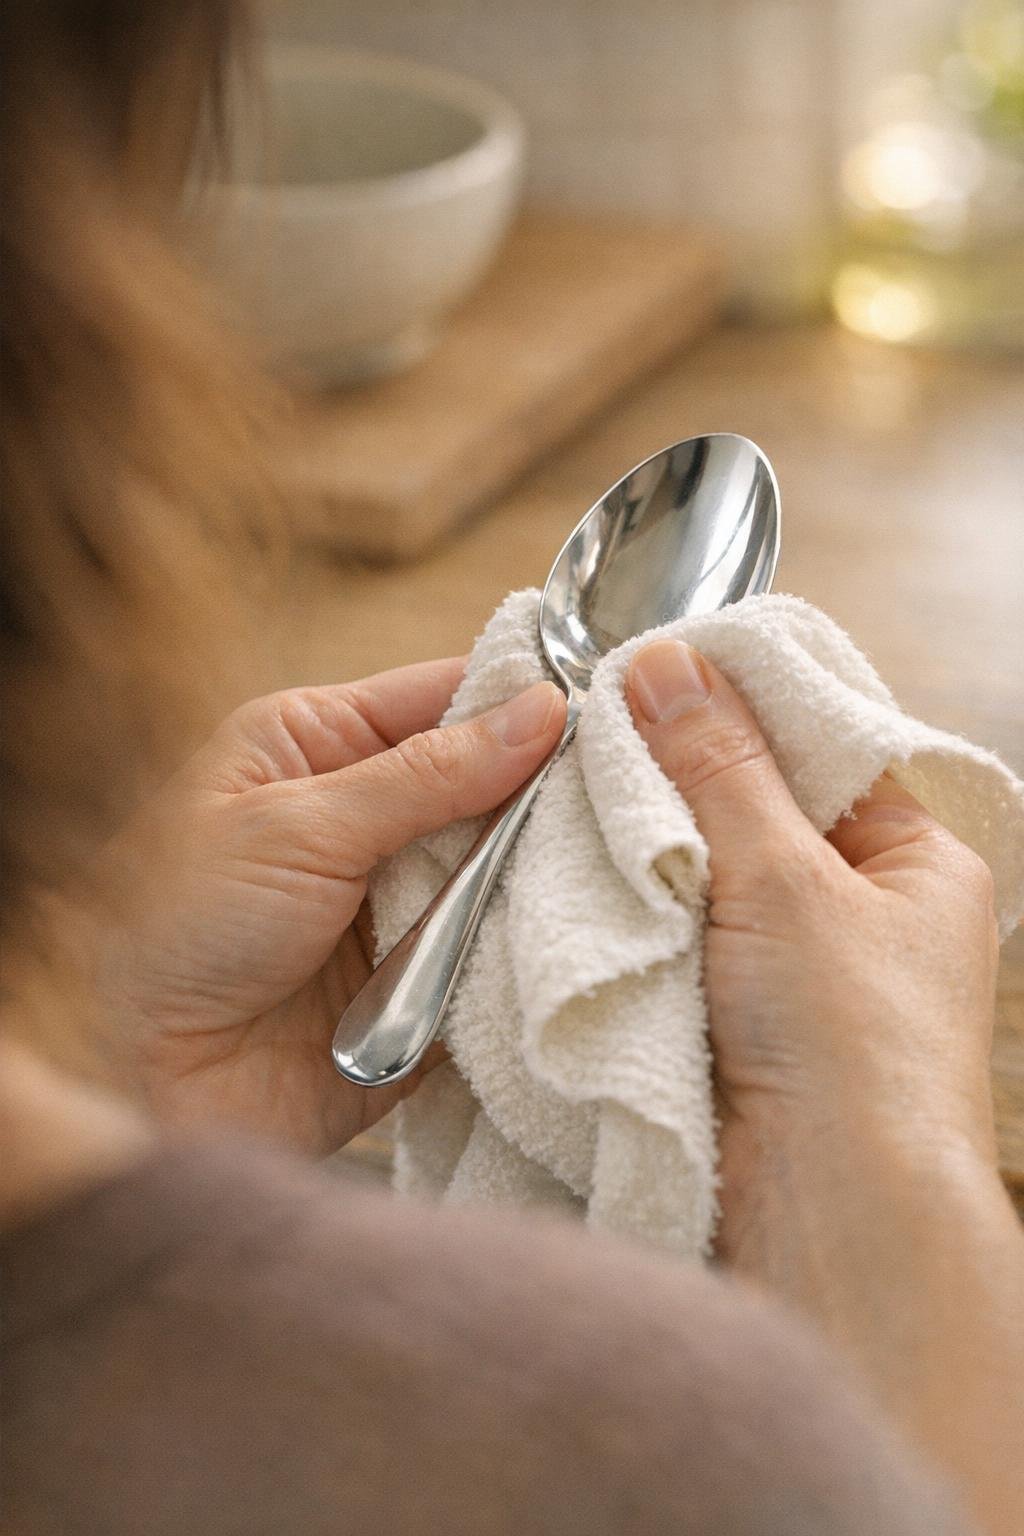
Let the silverware soak for 5 minutes, then check a piece. For moderate tarnish, that’s often enough. For heavier tarnish, I let it sit 10 minutes. After that, I use tongs to lift each piece out, rinse it under warm water, and dry it immediately with a soft towel.
5. Why this works without hard scrubbing
The dark coating on silver is usually silver sulfide. In this setup, the aluminum, baking soda, salt, and hot water create conditions that help transfer the sulfur away from the silver. That means the tarnish is reduced chemically rather than scraped off mechanically.
That’s why this method can be gentler than aggressive polishing when your goal is simply to brighten silverware before company comes. Instead of rubbing and rubbing, you’re letting the reaction do most of the work. The water may even smell slightly sulfur-like, a little like cooked eggs, which is a clue the process is doing exactly what it should.
6. The water temperature that gives the best results
Very hot water works better than lukewarm water. I usually bring water just to a boil in my kettle, then mix it with some hot tap water so I’m not shocking delicate pieces unnecessarily. A good target is roughly 150 to 180 degrees Fahrenheit if you like numbers, though I’ll be honest: in a real family kitchen, I usually just aim for “steaming hot but manageable.”
If the water cools too fast, the reaction slows down. For badly tarnished serving spoons or ladles, I sometimes repeat the process with a second round of fresh hot water. Two 7-minute soaks tend to work better than one 20-minute soak in cooling water.
7. How much silverware you can clean at one time
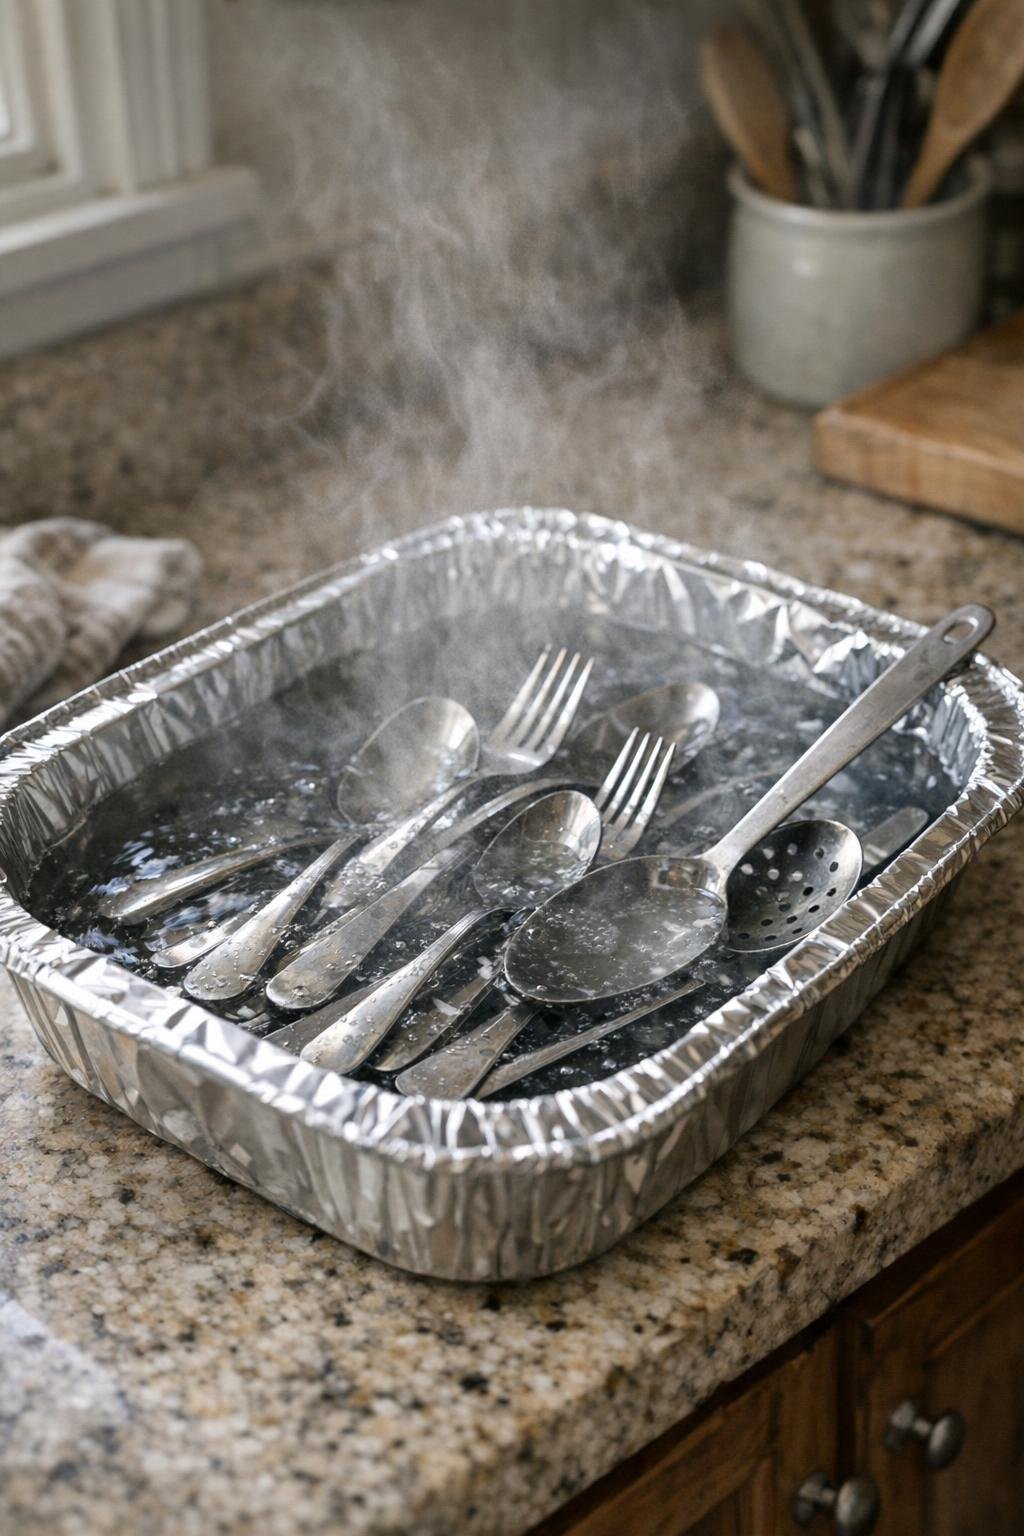
For the best results, don’t cram the pieces together in a tight pile. I try to do 12 to 16 pieces in a 9-by-13-inch dish, or around 20 to 24 pieces in a large roasting pan. If they overlap too much, the solution won’t reach every area evenly, and not every piece will touch the foil well.
Before Thanksgiving one year, I did nearly 40 pieces by splitting them into three quick batches: forks first, then spoons, then knives and serving pieces. The whole job still took under 30 minutes including drying time, and that was much easier than polishing every place setting one by one.
8. What to do if some pieces still look dull afterward
If a spoon comes out looking improved but not fully bright, I usually repeat the soak once before I do anything else. Fresh foil and fresh hot water can make a noticeable difference. Some older tarnish is just stubborn, especially if the silverware sat untouched in a felt-lined box for years.
After a second soak, I gently buff problem spots with a soft cloth. If needed, I use a pea-sized amount of silver polish on the cloth, never directly slathered onto the piece. Nine times out of ten, only a few detailed areas around patterns or tine bases need any hand finishing at all.
9. Important pieces you should not treat casually
Be careful with silverware that has glued-on handles, weighted knife handles, decorative inlays, oxidized intentional dark detailing, pearls, enamel, or mixed materials. Very hot water and soaking can loosen adhesives or affect finishes. Antique knives especially can have construction details that don’t love being submerged for long periods.
If I’m unsure, I test one less-important piece first for 2 to 3 minutes. That little bit of caution is worth it. Family heirlooms deserve patience. My rule is simple: if a piece looks delicate, unusually ornate, or expensive enough to make me nervous, I don’t experiment on the whole set at once.
10. The mistakes that can make silverware look worse
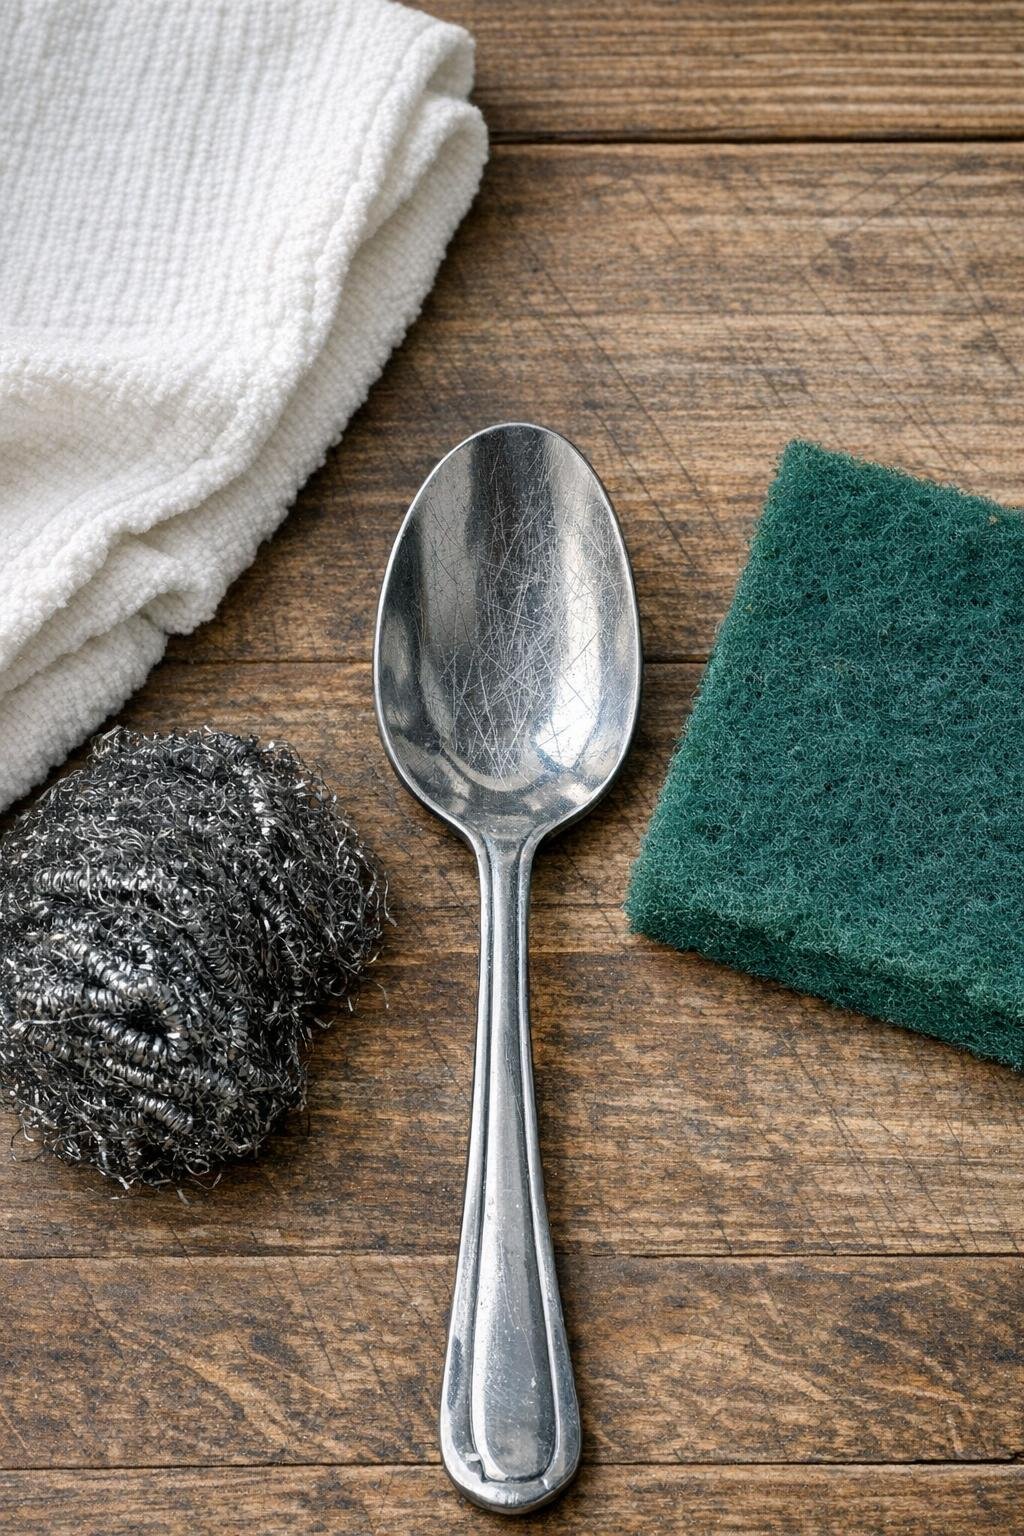
The biggest mistake is using abrasive scrubbers. Steel wool, rough scouring pads, and gritty cleaners can scratch silver and silver plate, leaving a hazy finish that catches the light in all the wrong ways. Once scratches are there, no quick soak will undo them.
Another mistake is letting silverware air-dry with mineral-heavy water on it. That can leave spots or a chalky film. I always rinse well and dry immediately. Also, avoid mixing truly dirty grease-covered utensils into the soak. If they have food residue, wash them first with mild soap so the tarnish-removal step can work on the silver itself.
ADVERTISEMENT
