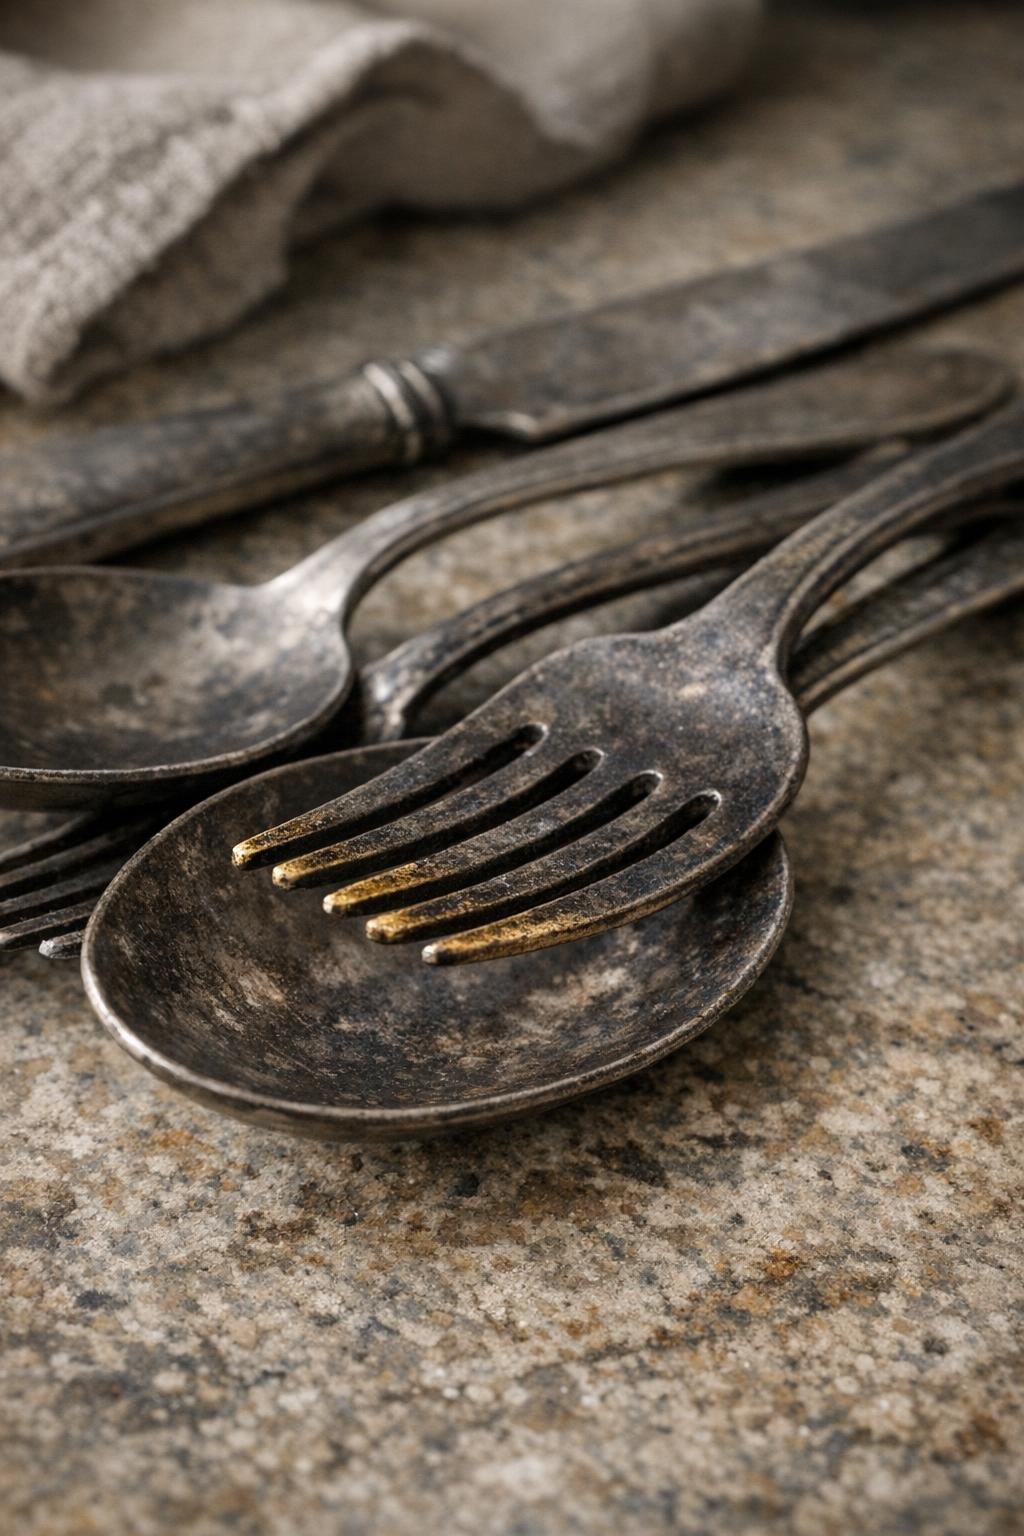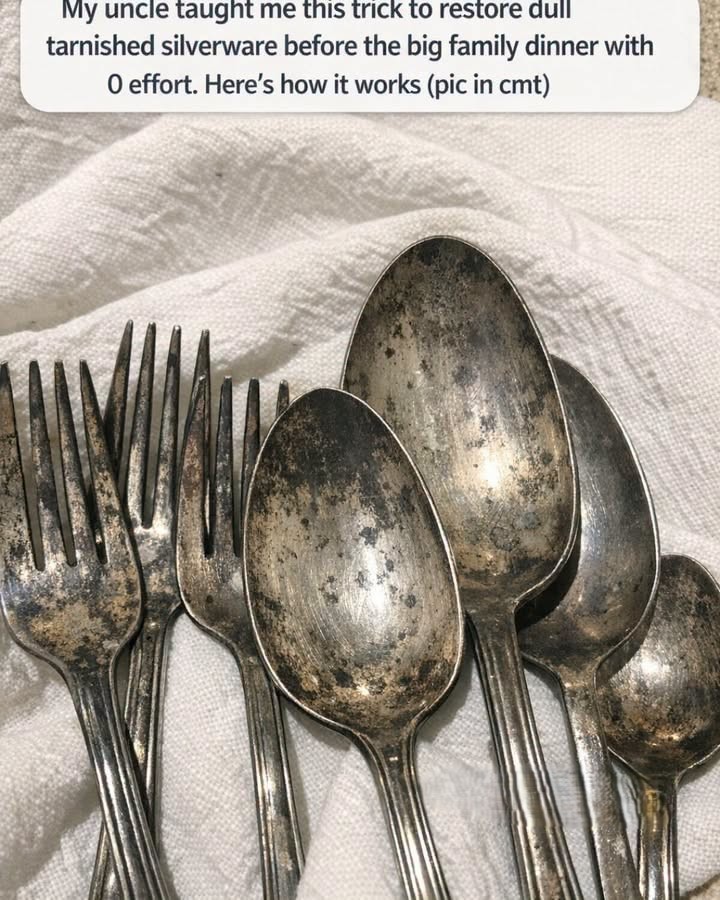
Right before a big family dinner, I always seem to notice the same thing at the worst possible time: the “good” silverware comes out of the drawer looking dull, gray, and tired instead of bright and welcoming. A few years ago, when I was already juggling a roast in the oven, rolls rising on the counter, and cousins due to arrive within hours, my uncle showed me a simple trick that made our tarnished silverware look dramatically better with almost no scrubbing at all.
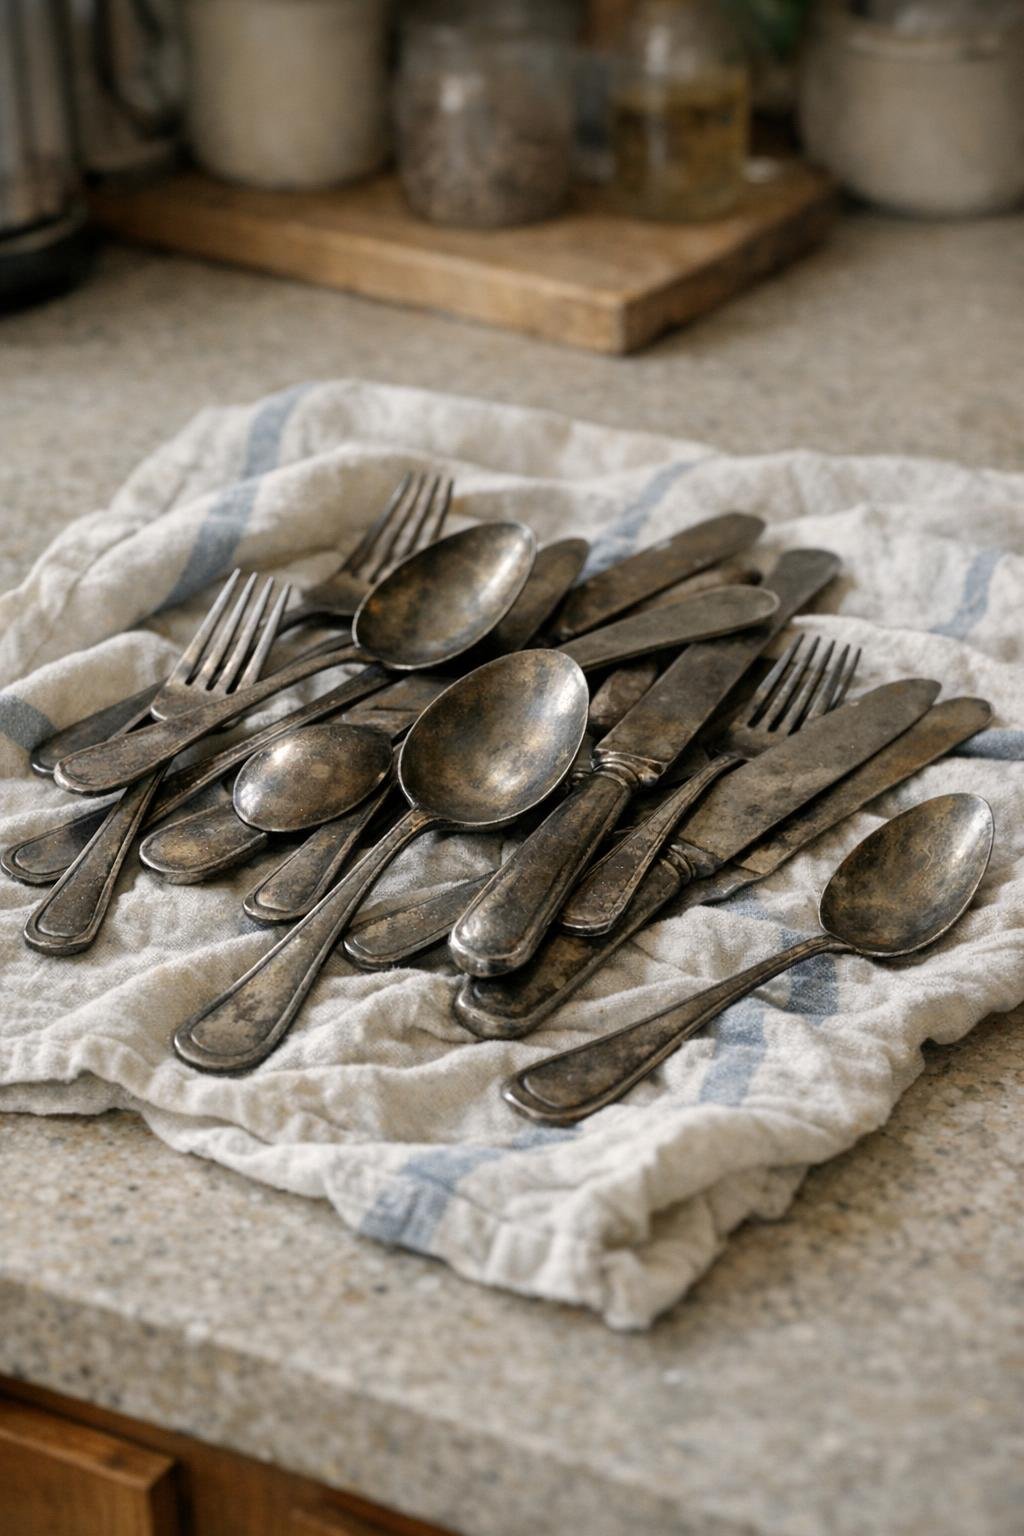
It felt a little like kitchen magic the first time I saw it, but there’s real science behind it, and it has saved me more than once before holidays, birthdays, and Sunday dinners.
If you’ve got silver-plated or sterling silver flatware that’s gone dark, this is the low-effort method I reach for first. I’ll walk you through exactly what you need, how to set it up, what results to expect, and a few important mistakes to avoid so you can get your table ready without spending an hour polishing every fork by hand.
1. What the “0 effort” silverware trick actually is
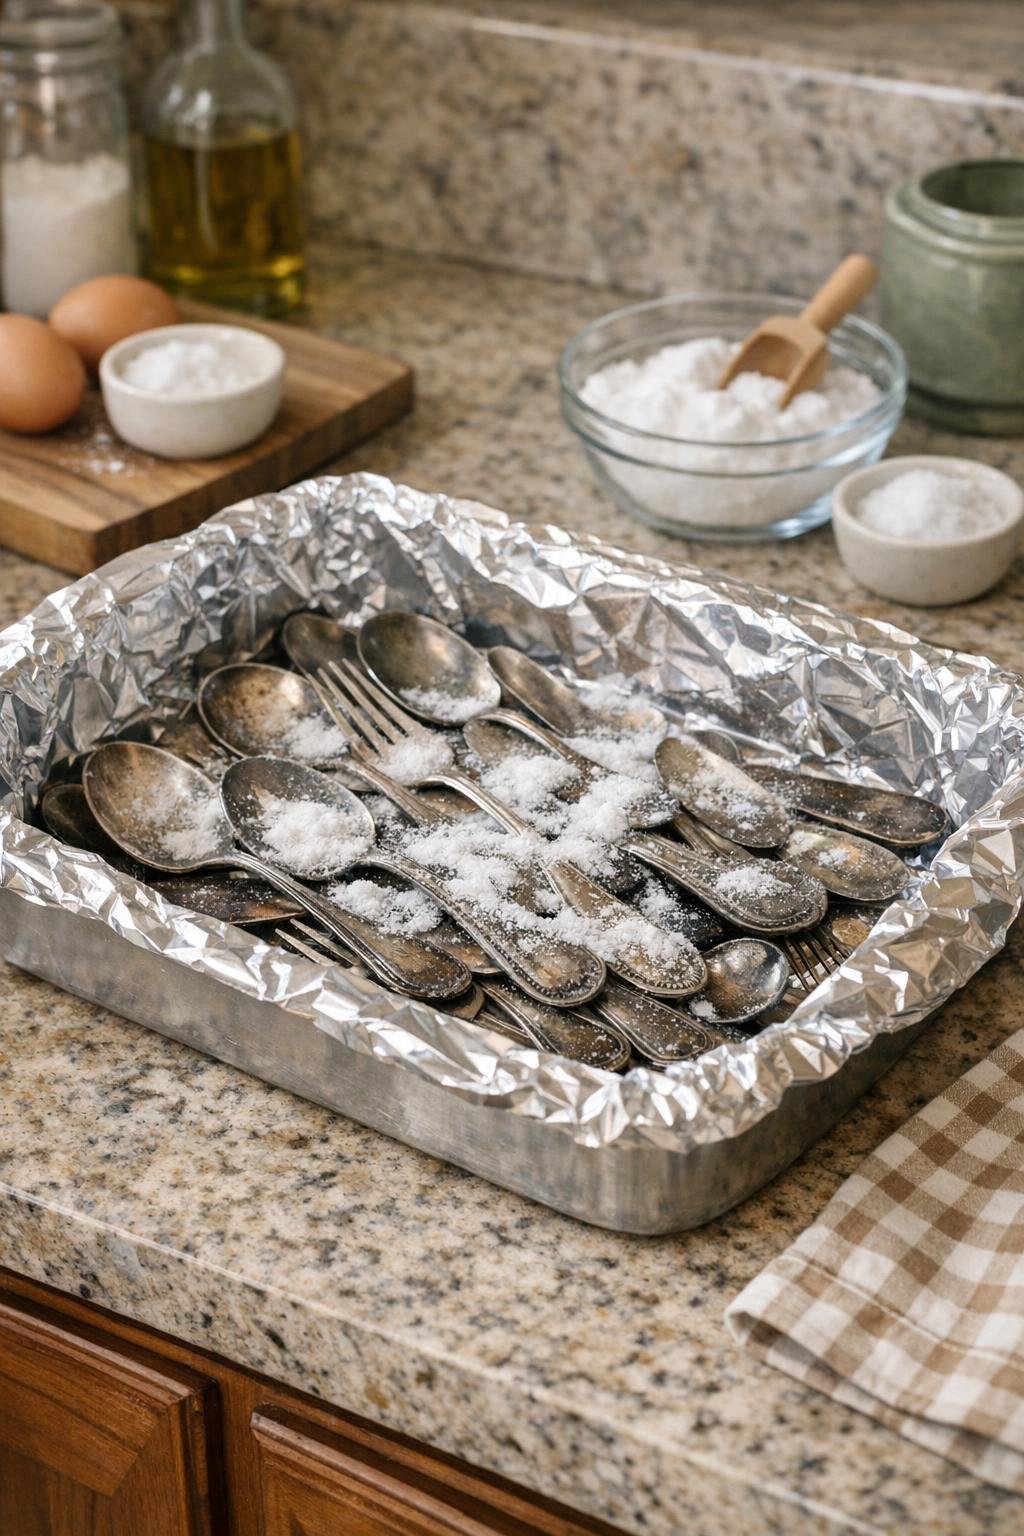
The trick is a hot-water soak using aluminum foil, baking soda, and salt in a bowl, pan, sink, or casserole dish. You line the container with aluminum foil, add the tarnished silverware, sprinkle in baking soda and a little salt, then pour in very hot water. Over the next 5 to 10 minutes, a chemical reaction helps move the sulfur-based tarnish off the silver and onto the aluminum.
I call it “0 effort” because there’s usually little to no scrubbing involved. Most pieces just need a rinse, a soft wipe, and a dry buff with a clean towel. For busy family cooks, that matters. I’d rather spend 10 minutes setting out deviled eggs than 45 minutes rubbing a spoon with polish while trying not to burn the ham.
2. The exact supplies I use in my kitchen
You do not need fancy products. For one standard batch of 12 to 16 pieces of silverware, I use a 9-by-13-inch baking dish or a deep roasting pan, 1 sheet of aluminum foil large enough to line the bottom, 1 tablespoon of baking soda, 1 tablespoon of table salt, and about 6 to 8 cups of very hot water.
I also keep a pair of kitchen tongs nearby, plus 2 soft cotton dish towels or microfiber cloths for drying. If the pieces are heavily spotted from old fingerprints or storage, I add 1 teaspoon of mild dish soap after the soak, not before. That helps remove residue without interfering much with the tarnish-lifting step.
3. How to tell if your silverware is a good candidate for this method
This method is best for sterling silver and many silver-plated pieces with ordinary tarnish. Tarnish usually looks yellow, brown, blue-gray, or black and forms from exposure to sulfur in the air. If your silverware looks dull all over but still has a smooth surface, this trick is often perfect.
What this method does not fix is physical damage. Deep scratches, worn-through silver plating, pitting, corrosion, and disposal damage from a dishwasher detergent that was too harsh will not disappear in a hot-water bath. If I can see brass-colored or copper-colored metal showing through on the edges of a silver-plated fork, I know that’s plating wear, not tarnish, and I adjust my expectations.