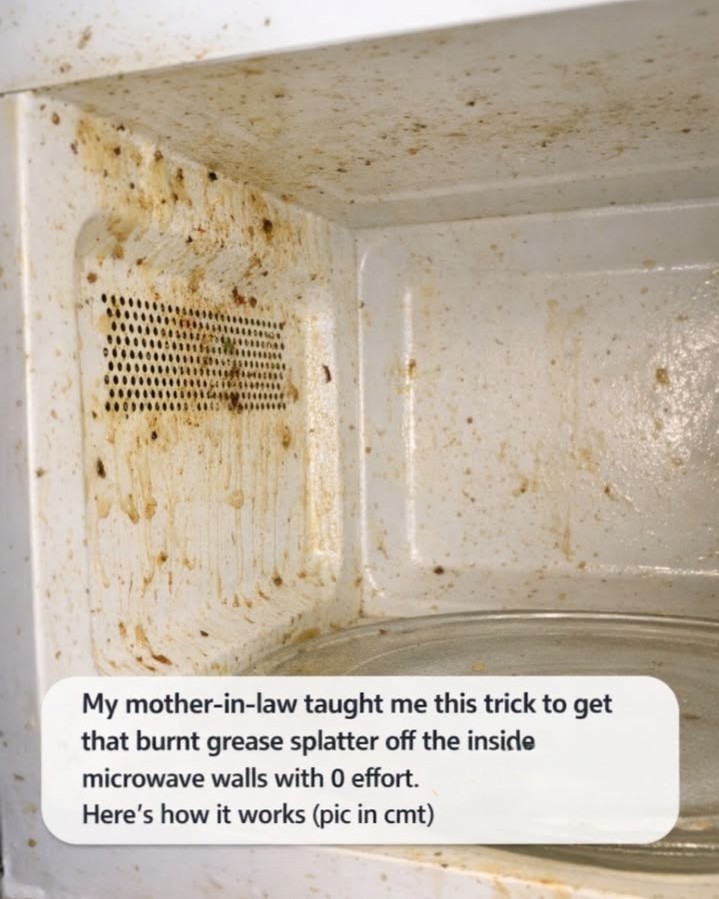
I used to be the kind of person who would open the microwave, see the orange-brown speckles welded onto the walls, and quietly close the door again. Burnt grease splatter has a way of looking permanent, especially when it has been reheated for days and turned into that tacky, smoky film that laughs at a dry paper towel. Then my mother-in-law showed me a simple steam-and-wipe trick that honestly felt like cheating, because it turned a scrubbing job into a two-minute cleanup.
What I love about this method is that it uses things most of us already have in the kitchen, takes almost no elbow grease, and works especially well on the inside walls and ceiling where splatter likes to bake itself on. I’ll walk you through exactly how I do it, how long I microwave the bowl, what to use for stubborn spots, what not to do, and a few small habits that keep the microwave from getting grimy again so quickly.
1. Why burnt grease splatter gets so hard to remove
Microwave splatter is not just fresh food mess. It is usually a mix of oil, sauce, starch, and protein that has been heated over and over again. Each time you reheat soup, leftovers, or a plate of pasta without a cover, tiny droplets hit the interior walls and ceiling. Then the next round of heat partially cooks those droplets again.
After 3 to 5 heating cycles, that splatter can go from soft to sticky to downright crusty. Oils oxidize, sugars caramelize, and proteins bond to the surface. That is why wiping with a cold sponge often does almost nothing except smear the grease around.
2. The simple trick my mother-in-law swears by
The trick is to loosen the burnt grease with steam before you ever try to wipe it. I fill a microwave-safe bowl or large glass measuring cup with about 1 cup of water and add 2 to 3 tablespoons of white vinegar. Then I microwave it on high for 3 to 5 minutes, depending on how dirty the microwave is.
Once the liquid is steaming hard and the windows are fogged up, I leave the microwave door closed for another 5 minutes. That trapped steam softens the grease splatter on the walls, ceiling, and door, so it releases with barely any effort. The vinegar smell fades quickly, and the grease wipes off far more easily than it would with spray cleaner alone.
3. What you need before you start
You do not need a full cleaning caddy for this. I use a microwave-safe bowl, 1 cup of water, 2 to 3 tablespoons of white vinegar, a microfiber cloth or soft sponge, and a dry towel for finishing. If the microwave has a removable glass turntable, I also keep a sink full of warm soapy water ready for that piece.
If I know the microwave is especially bad, I set out an old toothbrush or a soft dish brush for the vent area and corners. A pair of kitchen gloves is optional, but useful if you have sensitive hands or if the bowl comes out very hot.
4. The exact water-to-vinegar ratio that works best
I have tried a few versions, and the sweet spot for me is 1 cup of water to 2 or 3 tablespoons of white vinegar. That is enough acidity to cut grease and help with odors, but not so much that the smell becomes harsh. In a very small microwave, 1 cup is usually plenty. In a larger over-the-range model, I may use 1 1/2 cups of water with 3 tablespoons of vinegar.
If you do not want a strong vinegar scent, you can use 1 tablespoon instead of 3 and simply add an extra minute of heating time. The real hero here is the steam; the vinegar just gives it a boost.
5. How long to microwave the bowl
