
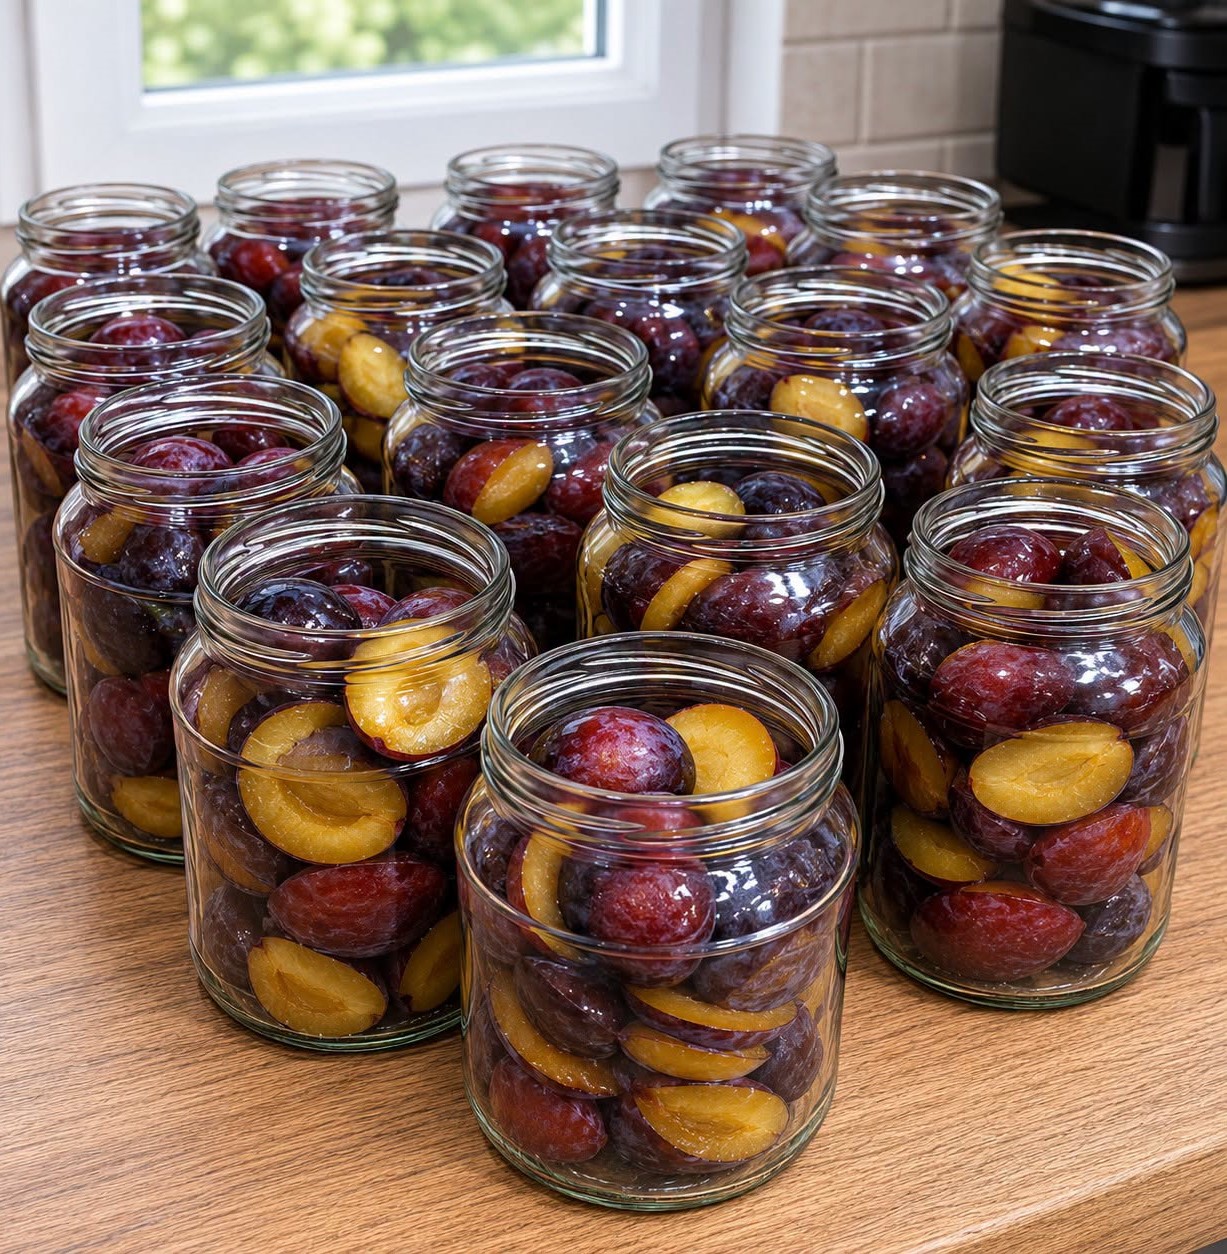
The plums retain their wonderfully fruity taste and intense aroma, and after opening the jar, you feel like you’ve brought a piece of summer directly into your pantry.
When plum season begins in summer, many of us automatically reach for the sugar and make sweet plum pickles. But with well-ripened plums, this is often unnecessary. The fruit is naturally sweet and aromatic enough, and by properly canning it, it can be preserved for winter without adding sugar or water.
I first tried this method about four years ago and have used it ever since. The plums remain wonderfully fruity, smell divine, and when you open the jar, you feel like you’ve brought a piece of summer right into your pantry.
The biggest surprise is how much juice the plums release when cooked. At first, it might look like the jars are overflowing, but the fruit shrinks as it heats up and releases its own juice. Don’t be afraid to pack the plums tightly into the jars.
Why can plums be preserved without sugar?
In traditional fruit preservation, sugar is primarily used for sweetening and helps to preserve the fruit’s color, flavor, and shape. However, preserving fruit in sugar is not necessary for reliable storage if proper heat treatment is used. Experts also recommend preserving fruit in water or without sugar syrup.
This recipe is not intended to support the idea that sugar is “bad” or that sugar-free plums are automatically healthier. The main advantage is that you don’t add any extra sugar to the fruit and can enjoy its natural flavor.
Well-ripened plums are naturally so sweet that a sweet pickle would be completely unnecessary.
What will you need?
For the basic recipe you only need two things:
Ripe plums,
clean preserving jars with undamaged lids.
The amount of plums you need depends on how many jars you want to make. It’s advisable to collect a little more plums, as the quantity will decrease after pitting and filling the jars.
Ripe but still firm plums are best. They should not be overripe, rotten, bruised, or moldy. Choose healthy plums for preserving, as the quality of the fruit significantly influences the result.
Preserving plums without sugar and water – procedure
Proceedings
First, wash the plums thoroughly under running water. Then let them drain or dry them with a clean towel.
Halve each plum and remove the pit. For large plums, you can halve the halves again. Leave smaller plums halved.
Prepare clean jars and fill them with the fruit. Pack the plums as tightly as possible. Press them down lightly to leave as little space as possible between the individual pieces.
Don’t hesitate to fill the jars almost to the top. During the canning process, the plums soften, release juice, and shrink. Therefore, after cooling, the fruit may only fill about three-quarters of the jar. This is perfectly normal.
Do not add water or sugar to the glasses.
Wipe the rims of the jars thoroughly to remove any fruit or juice residue. Then place the lids on and seal them tightly, depending on the type of lid and jar.
An important step: the canning itself.
One thing is important: When canning at home, it’s not enough to simply heat water to 100°C and then turn off the stove. Safe canning requires a specific heat treatment time, which depends on the food, the preparation method, the size of the jars, and other factors.
Fruit is cooked in a water bath, meaning it is simmered in boiling water. Experts also recommend measuring the cooking time from the moment the water begins to boil vigorously.
After a few months, you might not remember exactly which plums you used.
5. Store the jars in a cool, dark place.
After cooling, check the lids and store the jars in a clean, cool, and dark place. Check them regularly. If the lid is bulging, the contents are leaking, mold is forming, or an unusual odor is present, do not consume the contents.
How do you use pickled plums?
And here’s another big advantage of this recipe: You don’t necessarily have to use plums for classic compote.
They are excellent for plum cakes, muffins, sourdough cakes, rolls, or oatmeal. They can be pureed and used as a fruit base for desserts or simply served with a meal.
They also taste delicious warm. Simply heat them briefly and serve with, for example, quark dumplings, pancakes or crêpes.
And since there is no sugar syrup in the glass, the plum flavor remains very pronounced.
What if you want the plums to be even more fragrant?
The basic recipe is all about simplicity, so I would personally prepare the first portion completely without any ingredients.
You can, however, add a little more flavor to your next batch. For example, a whole piece of cinnamon stick, star anise, or vanilla go well with plums. When making such adjustments, however, only use ingredients and methods suitable for preserving; don’t add them indiscriminately just to change the flavor.
The choice of fruit itself is also a very good “improvement”. Sweet blue-violet plums often require no additional additives at all.
Therefore, I don’t consider the original procedure of “heating to 100°C, switching off, and letting the jars cool” to be a sufficiently precise guide for safe long-term storage. If you intend to keep the jars in your pantry throughout the winter, it’s more sensible to follow the established processing time for the specific type of fruit and jar size.
Home canning is not just about creating a vacuum. The heat treatment also serves to kill microorganisms that could lead to food spoilage.
Why do plums shrink after being canned?
If you haven’t tried this method before, you might be surprised when you open the first jar and find that the plums no longer occupy the same volume.
That’s perfectly normal.
Fresh plums contain a lot of water, and when heated, their flesh softens and shrinks, releasing natural juices that collect at the bottom and between the pieces of fruit.
Therefore, it’s advisable to fill the jars tightly before canning. However, the plums shouldn’t be crushed or pressed down too firmly. Simply layer them one after the other, pressing down each layer lightly.
Which plums are best suited for this recipe?
The best flavor comes from plums that are sweet, aromatic and well-ripened, but still retain their shape.
Plums that are too hard won’t become as sweet and aromatic after cooking. Very soft and overripe plums, however, can turn to mush when heated.
Plums are ideal, and you would enjoy them fresh.
If you have several varieties to choose from, feel free to try them individually. Some plums remain firmer, others release more juice. Therefore, the consistency may vary slightly in each jar.
Tips to make plums even better
1. Use the sweetest fruit possible.
Since you’re not adding any sugar to the jar, all the sweetness comes from the plums themselves. Therefore, it’s worth preserving them when they are nice and ripe and naturally sweet.
2. Carefully inspect the plums before bottling them
. Check each individual plum. If you find any damaged or moldy spots, it’s best not to use that plum. When making preserves, it’s recommended to use only high-quality fruit.
3. Do not overfill the jars.
Although the plums can be packed very tightly, sufficient space should be left according to the established procedure for the specific jar type and canning method. The correct space is important for a tight seal.
4. Label your jars.
You can write the year of preservation and the type of fruit on each jar. If you are preserving several varieties, you can also note their names.
