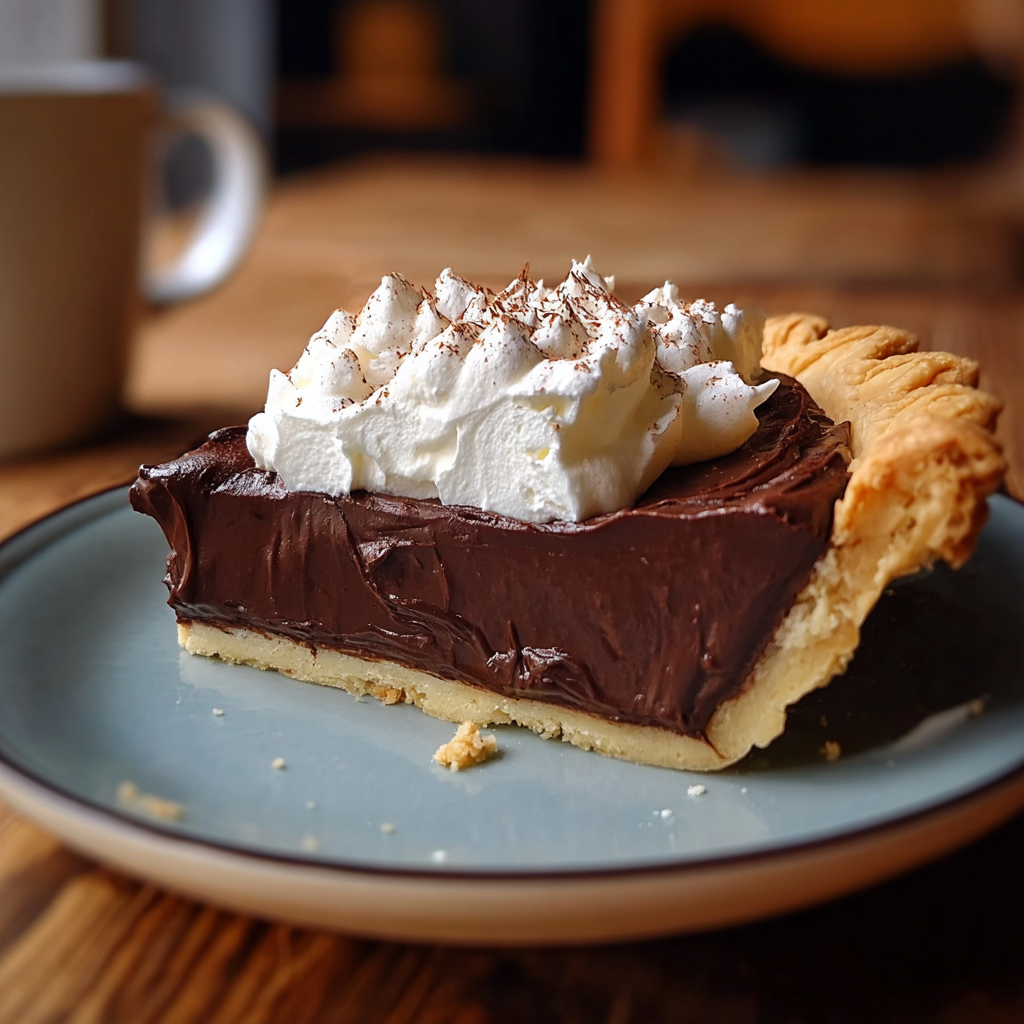
There’s something deeply comforting about a dessert that connects us to simpler times, and this old-fashioned chocolate pie is exactly that kind of soul-warming treat. I discovered this recipe in my grandmother’s handwritten recipe box, tucked between yellowed cards for Sunday pot roast and her famous biscuits. The first time I made it, the rich aroma of chocolate filling the kitchen and the silky texture of that first bite transported me straight back to her dining room table, where this pie was the star of every family gathering. What makes this pie truly special isn’t just its incredible flavor—it’s how it represents the kind of from-scratch cooking that turns simple ingredients into pure comfort food magic, the way desserts were meant to be made.
Why You’ll Love This Old-Fashioned Chocolate Pie
- Pure nostalgic comfort – Tastes exactly like the chocolate pies your grandmother made from scratch
- Silky smooth perfection – Rich, creamy filling that’s neither too sweet nor too bitter
- Make-ahead friendly – Actually tastes better after chilling overnight, perfect for entertaining
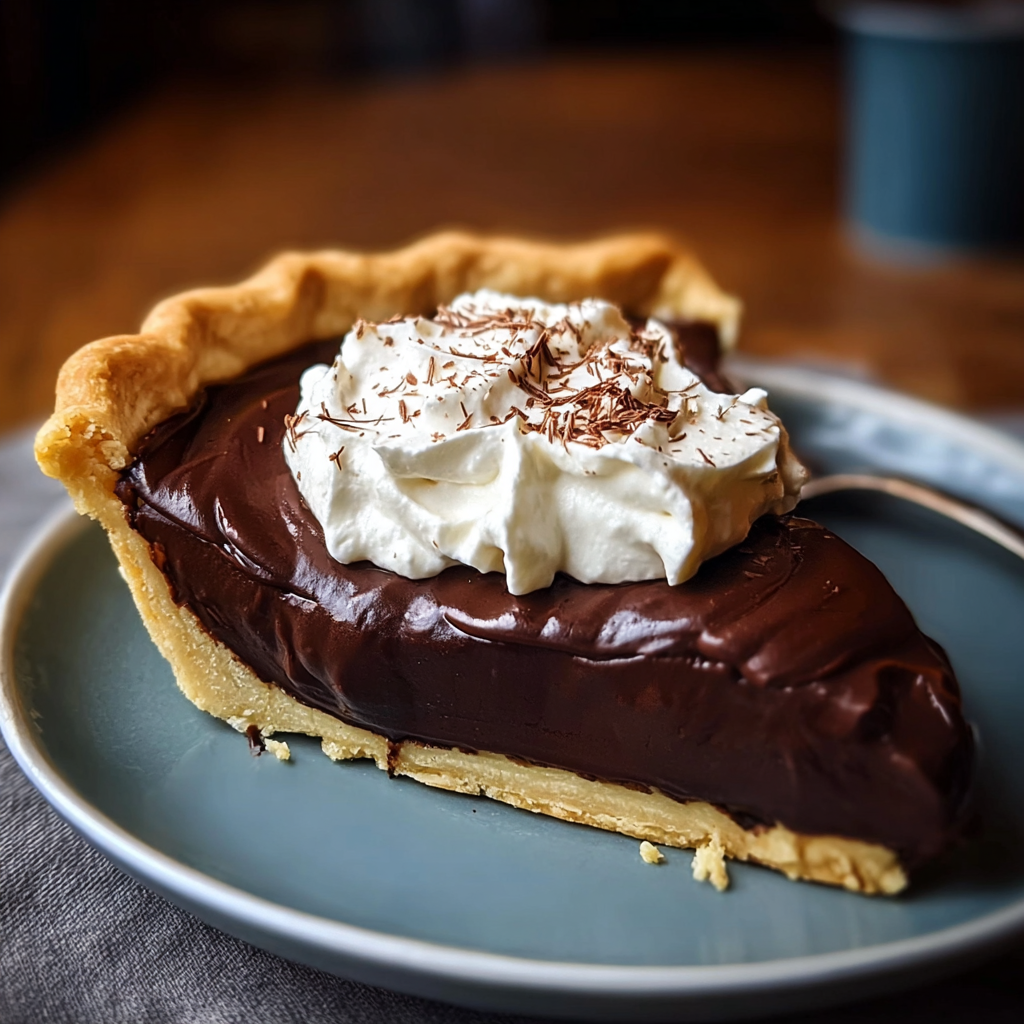
- Classic presentation – Beautiful enough for special occasions, comforting enough for everyday treats
- From-scratch satisfaction – Made with real ingredients, no pudding mix shortcuts
- Endless topping possibilities – Delicious with whipped cream, meringue, or just on its own
Ingredients You’ll Need
For the Pie Crust:
- 1¼ cups all-purpose flour – Foundation for the perfect flaky crust
- ½ teaspoon salt – Enhances flavor and balances sweetness
- ⅓ cup cold unsalted butter, cubed – Creates those coveted flaky layers
- 3-4 tablespoons ice water – Just enough to bring the dough together
For the Chocolate Filling:
- ¾ cup granulated sugar – Sweetens without overwhelming the chocolate
- ⅓ cup unsweetened cocoa powder – Deep, rich chocolate flavor
- 3 tablespoons cornstarch – Creates the perfect smooth, sliceable texture
- ¼ teaspoon salt – Enhances all the flavors
- 3 cups whole milk – Creates creamy richness
- 3 large egg yolks – Adds richness and helps with thickening
- 3 tablespoons butter – Extra richness and glossy finish
- 1 teaspoon vanilla extract – Rounds out the chocolate flavor
- 2 oz dark chocolate, finely chopped (optional) – For extra chocolate depth
For the Topping:
- 1½ cups heavy cream – For fresh whipped cream
- 3 tablespoons powdered sugar – Sweetens the whipped cream
- 1 teaspoon vanilla extract – Flavor enhancement
- Chocolate shavings or cocoa powder for dusting – Beautiful finishing touch
Step-by-Step Instructions
Make the Pie Crust:
Step 1: Mix Dry Ingredients In a large bowl, whisk together flour and salt until combined.
Step 2: Cut in Butter Add cold, cubed butter to the flour mixture. Using a pastry cutter or your fingers, work the butter into the flour until the mixture resembles coarse crumbs with some pea-sized butter pieces.
Step 3: Add Water Sprinkle ice water over the mixture, starting with 3 tablespoons. Gently stir with a fork until the dough just comes together. Add more water if needed, but don’t overwork.
Step 4: Form and Chill Shape dough into a disk, wrap in plastic wrap, and refrigerate for at least 30 minutes.
Step 5: Roll and Shape Roll dough on a floured surface to fit a 9-inch pie pan. Transfer to pan, trim edges, and crimp decoratively.
Step 6: Pre-bake Preheat oven to 425°F. Line crust with parchment paper, fill with pie weights or dried beans. Bake 15 minutes, remove weights, and bake 5-8 minutes more until lightly golden. Cool completely.
Prepare the Chocolate Filling:
Step 7: Mix Dry Ingredients In a heavy-bottomed saucepan, whisk together sugar, cocoa powder, cornstarch, and salt until no lumps remain.
Step 8: Add Milk Gradually Slowly whisk in the milk, making sure to eliminate any lumps as you go. The mixture should be completely smooth.
Step 9: Cook the Base Place the saucepan over medium heat and cook, stirring constantly, for 8-12 minutes until the mixture thickens and coats the back of a spoon. It should bubble gently.
Step 10: Temper the Eggs In a small bowl, lightly beat the egg yolks. Slowly pour about ½ cup of the hot chocolate mixture into the yolks, whisking constantly to prevent scrambling.
Step 11: Combine and Finish Pour the tempered egg mixture back into the saucepan, whisking constantly. Cook for 2-3 more minutes until very thick.
Step 12: Add Final Touches Remove from heat and stir in butter, vanilla, and chopped chocolate if using. Stir until completely smooth and glossy.
Assemble the Pie:
Step 13: Fill the Crust Pour the hot filling into the cooled pie crust, spreading evenly. Press plastic wrap directly onto the surface of the filling to prevent a skin from forming.
Step 14: Chill Refrigerate for at least 4 hours or overnight until completely set.
Prepare the Topping:
Step 15: Whip the Cream When ready to serve, whip heavy cream, powdered sugar, and vanilla until soft peaks form.
Step 16: Final Assembly Spread or pipe whipped cream over the chilled pie. Garnish with chocolate shavings or a light dusting of cocoa powder.
Serving Suggestions and Pairings
Complete the Experience This rich, decadent pie is perfect on its own, but these additions make it even more special:
- Fresh berries – Strawberries or raspberries add brightness that cuts through the richness
- Strong coffee or espresso – The slight bitterness balances the sweet chocolate perfectly
- Vanilla ice cream – For those who want to go completely over the top
- After-dinner cordials – A small glass of brandy or coffee liqueur complements the chocolate
Presentation Ideas Serve on chilled dessert plates with a dollop of whipped cream and a fresh mint sprig. A light dusting of cocoa powder around the plate edge adds an elegant restaurant touch.
Make-Ahead Tips
Perfect for Planning This pie is actually better when made ahead, as the flavors develop and the filling sets to the perfect consistency.
Timeline Options
- Day before: Make the entire pie and refrigerate overnight
- Two days ahead: Bake the crust and make the filling, assemble the day before serving
- Week ahead: The crust can be baked and frozen, wrapped well
Storage Success The assembled pie keeps beautifully for up to 3 days in the refrigerator. Add the whipped cream just before serving to maintain the best texture and appearance.
Storage and Leftovers
Keeping It Fresh Store covered in the refrigerator for up to 4 days. The filling stays perfectly smooth and sliceable throughout.
Freezing Options The pie can be frozen without the whipped cream topping for up to 2 months. Thaw overnight in the refrigerator and add fresh whipped cream before serving.
Serving Cold vs. Room Temperature This pie is delicious both ways. Let it sit at room temperature for 15-20 minutes before serving for a softer texture, or serve it straight from the fridge for firmer slices.
Custom Variations and Add-Ons
1. Mocha Version Add 2 tablespoons instant coffee granules to the chocolate filling for a sophisticated coffee-chocolate combination.
2. Peanut Butter Chocolate Swirl 3 tablespoons smooth peanut butter into the hot filling before chilling for a classic flavor pairing.
3. Mint Chocolate Add ½ teaspoon peppermint extract to the filling and garnish with crushed chocolate mint cookies.
4. Orange Chocolate Add 1 tablespoon orange zest to the filling and garnish with candied orange peel for a citrus twist.
5. Bourbon Chocolate Stir 2 tablespoons bourbon into the finished filling for a grown-up version with depth and warmth.
Nutrition Information
Per slice (based on 8 servings):
- Calories: ~420
- Fat: 22g
- Protein: 8g
- Carbohydrates: 52g
- Fiber: 3g
- Sugar: 38g
Old-Fashioned Chocolate Pie FAQs
Why did my filling turn out lumpy? Lumps usually form when the dry ingredients aren’t whisked together well initially, or when the milk is added too quickly. Strain the filling through a fine-mesh sieve if needed.
Can I use a store-bought crust? Absolutely! A high-quality frozen pie crust works well and saves time. Just make sure to pre-bake it according to the package directions.
How do I know when the filling is thick enough? The filling should coat the back of a spoon and hold its shape when you draw your finger across it. It will continue to thicken as it cools.
Can I make this without eggs? The eggs provide richness and help with thickening, but you can increase the cornstarch to ½ cup for an egg-free version, though the texture will be slightly different.
Why is there a skin on my filling? This happens when the hot filling is exposed to air. Always press plastic wrap directly onto the surface while cooling to prevent this.
Final Thoughts: Share the Love!
This Old-Fashioned Chocolate Pie isn’t just a dessert—it’s a connection to the way things used to be made, with patience, care, and real ingredients that create something truly special. It’s the kind of pie that makes holidays more memorable, dinner parties more impressive, and ordinary Sunday dinners feel like celebrations. Whether you’re carrying on a family tradition or starting a new one, this recipe delivers the kind of deep, satisfying chocolate experience that reminds us why some classics never go out of style. Get ready for that perfect moment when everyone takes their first bite and the whole room goes quiet with pure dessert bliss!